Finished
Riley's 87 Virago
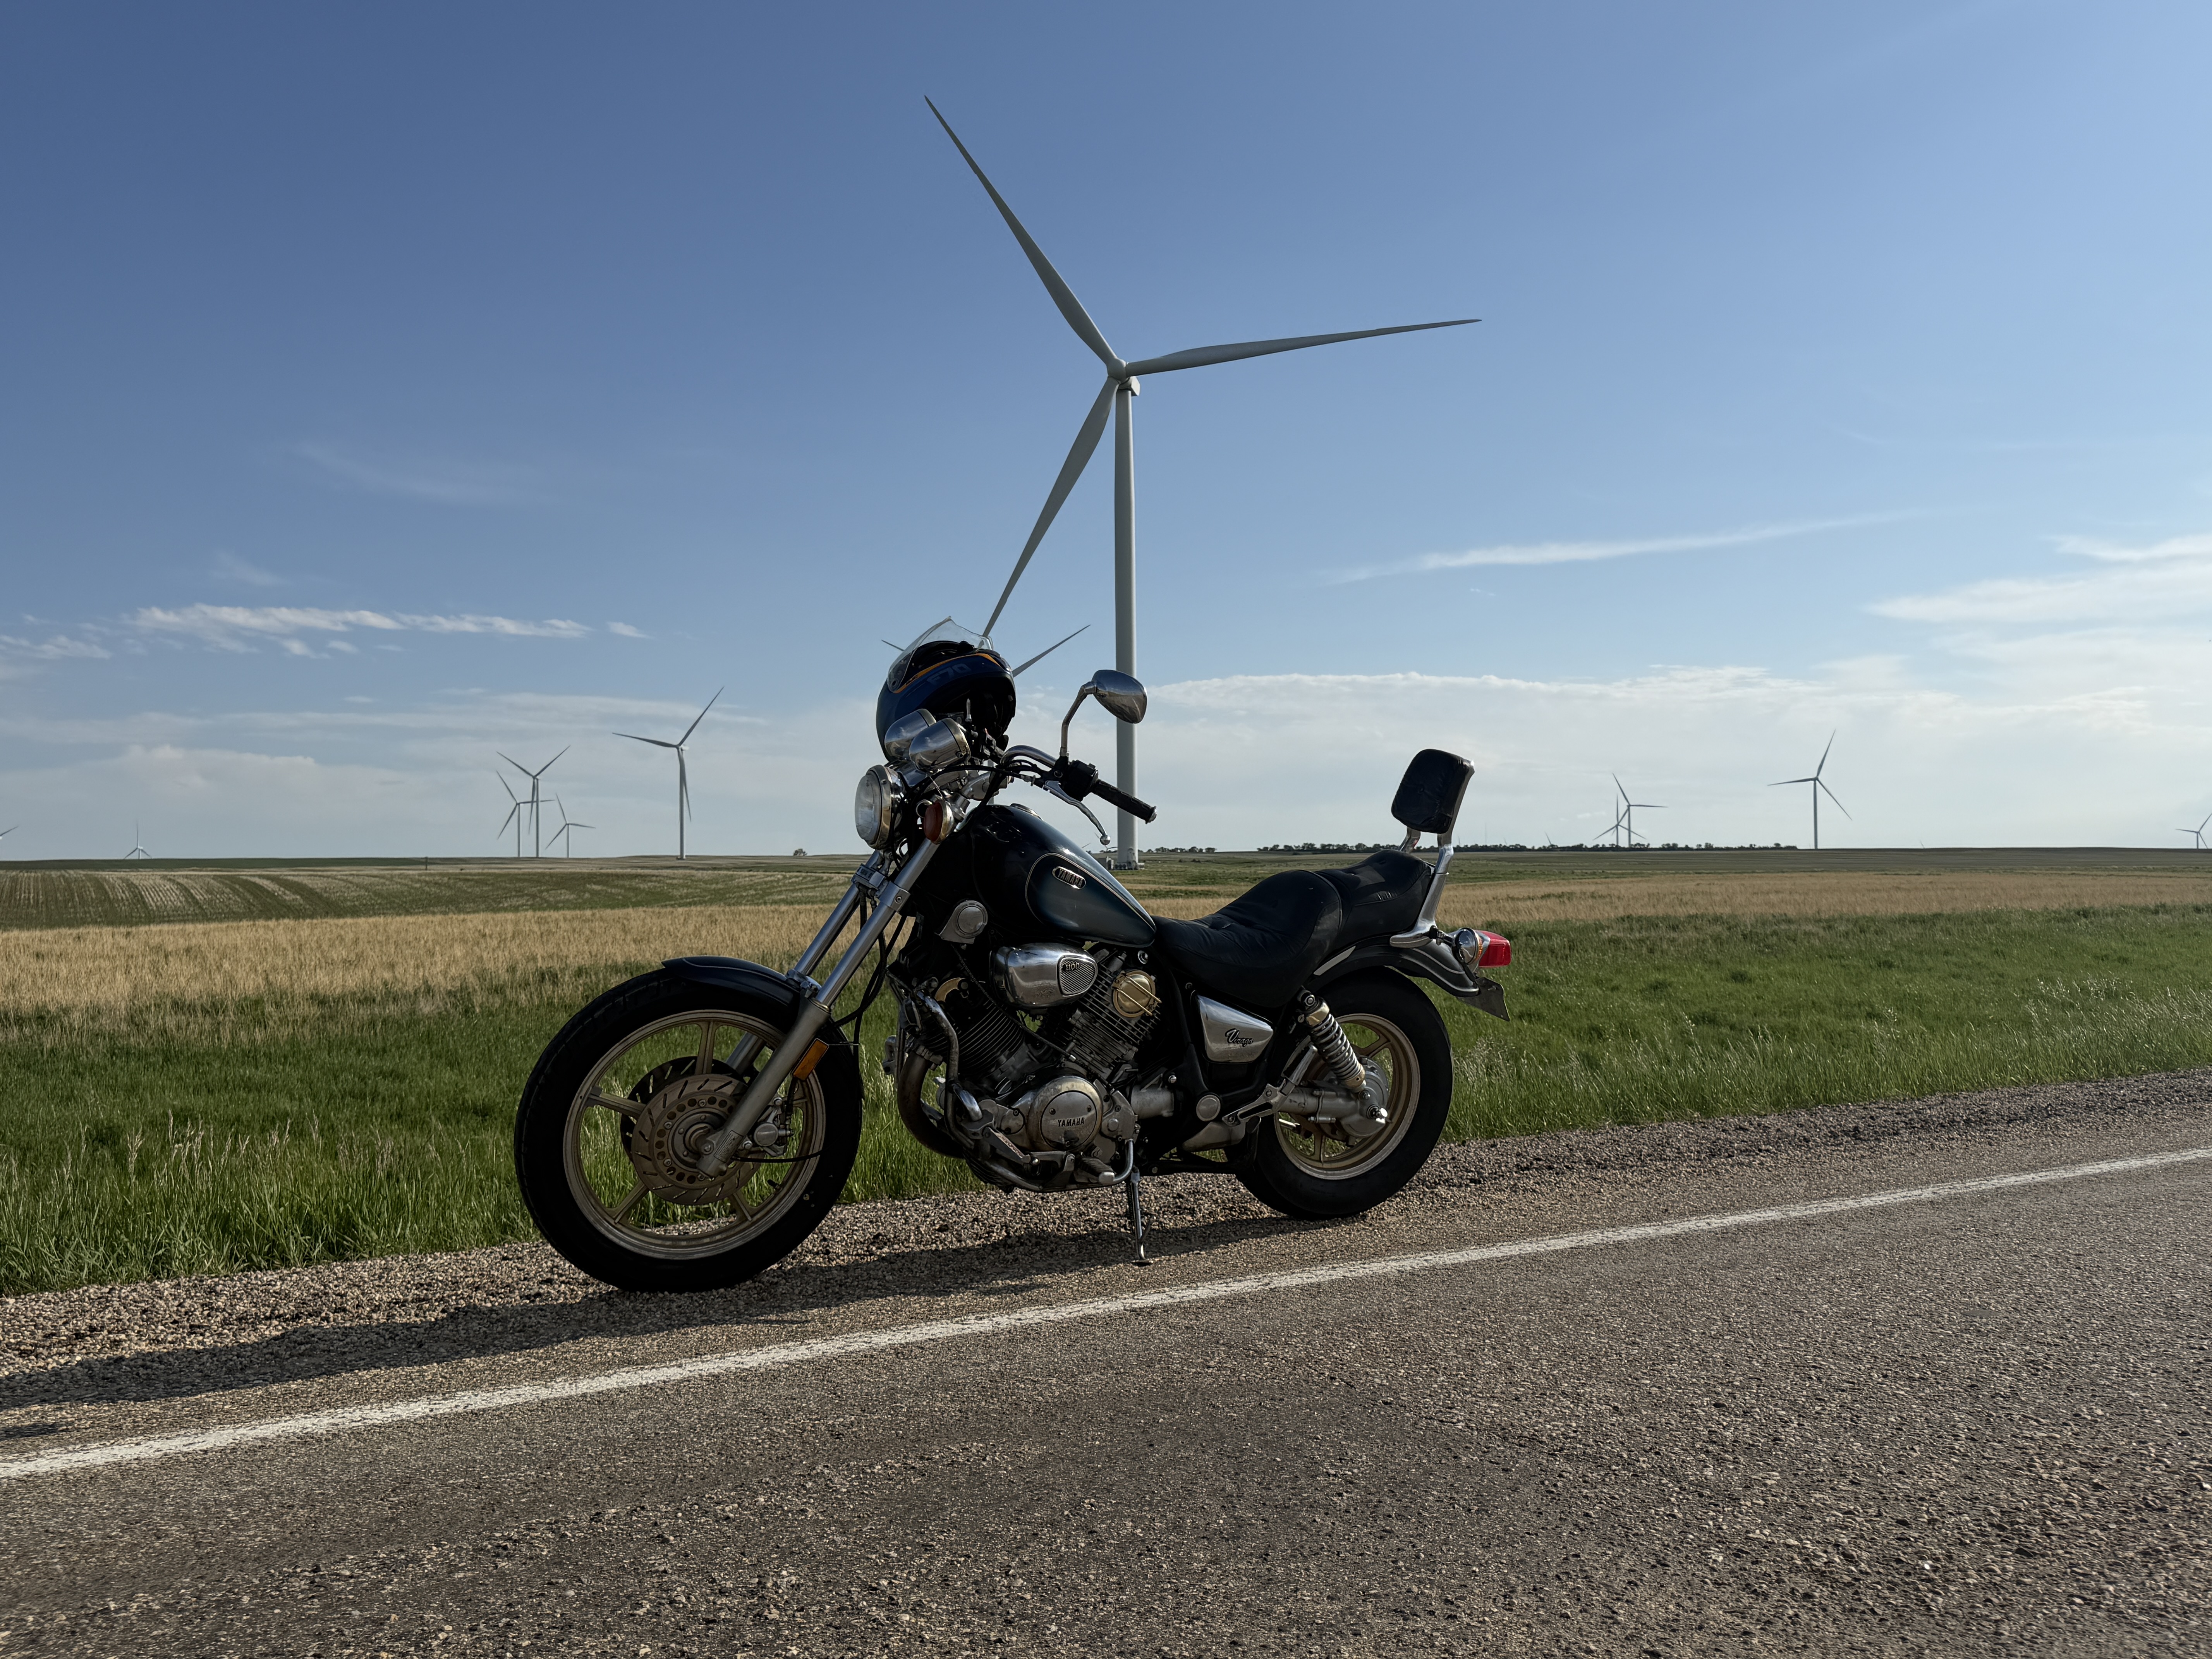
Riley’s 1987 Yamaha Virago 1100 was unexpected project to roll into the MacMoto garage. What began as just a place to store it temporarily only to become a much-needed refresh. The bike was last known to run—though not particularly well—about 10 years ago... at least that's what Riley says. (Are you sure it wasn't 20 years ago?)
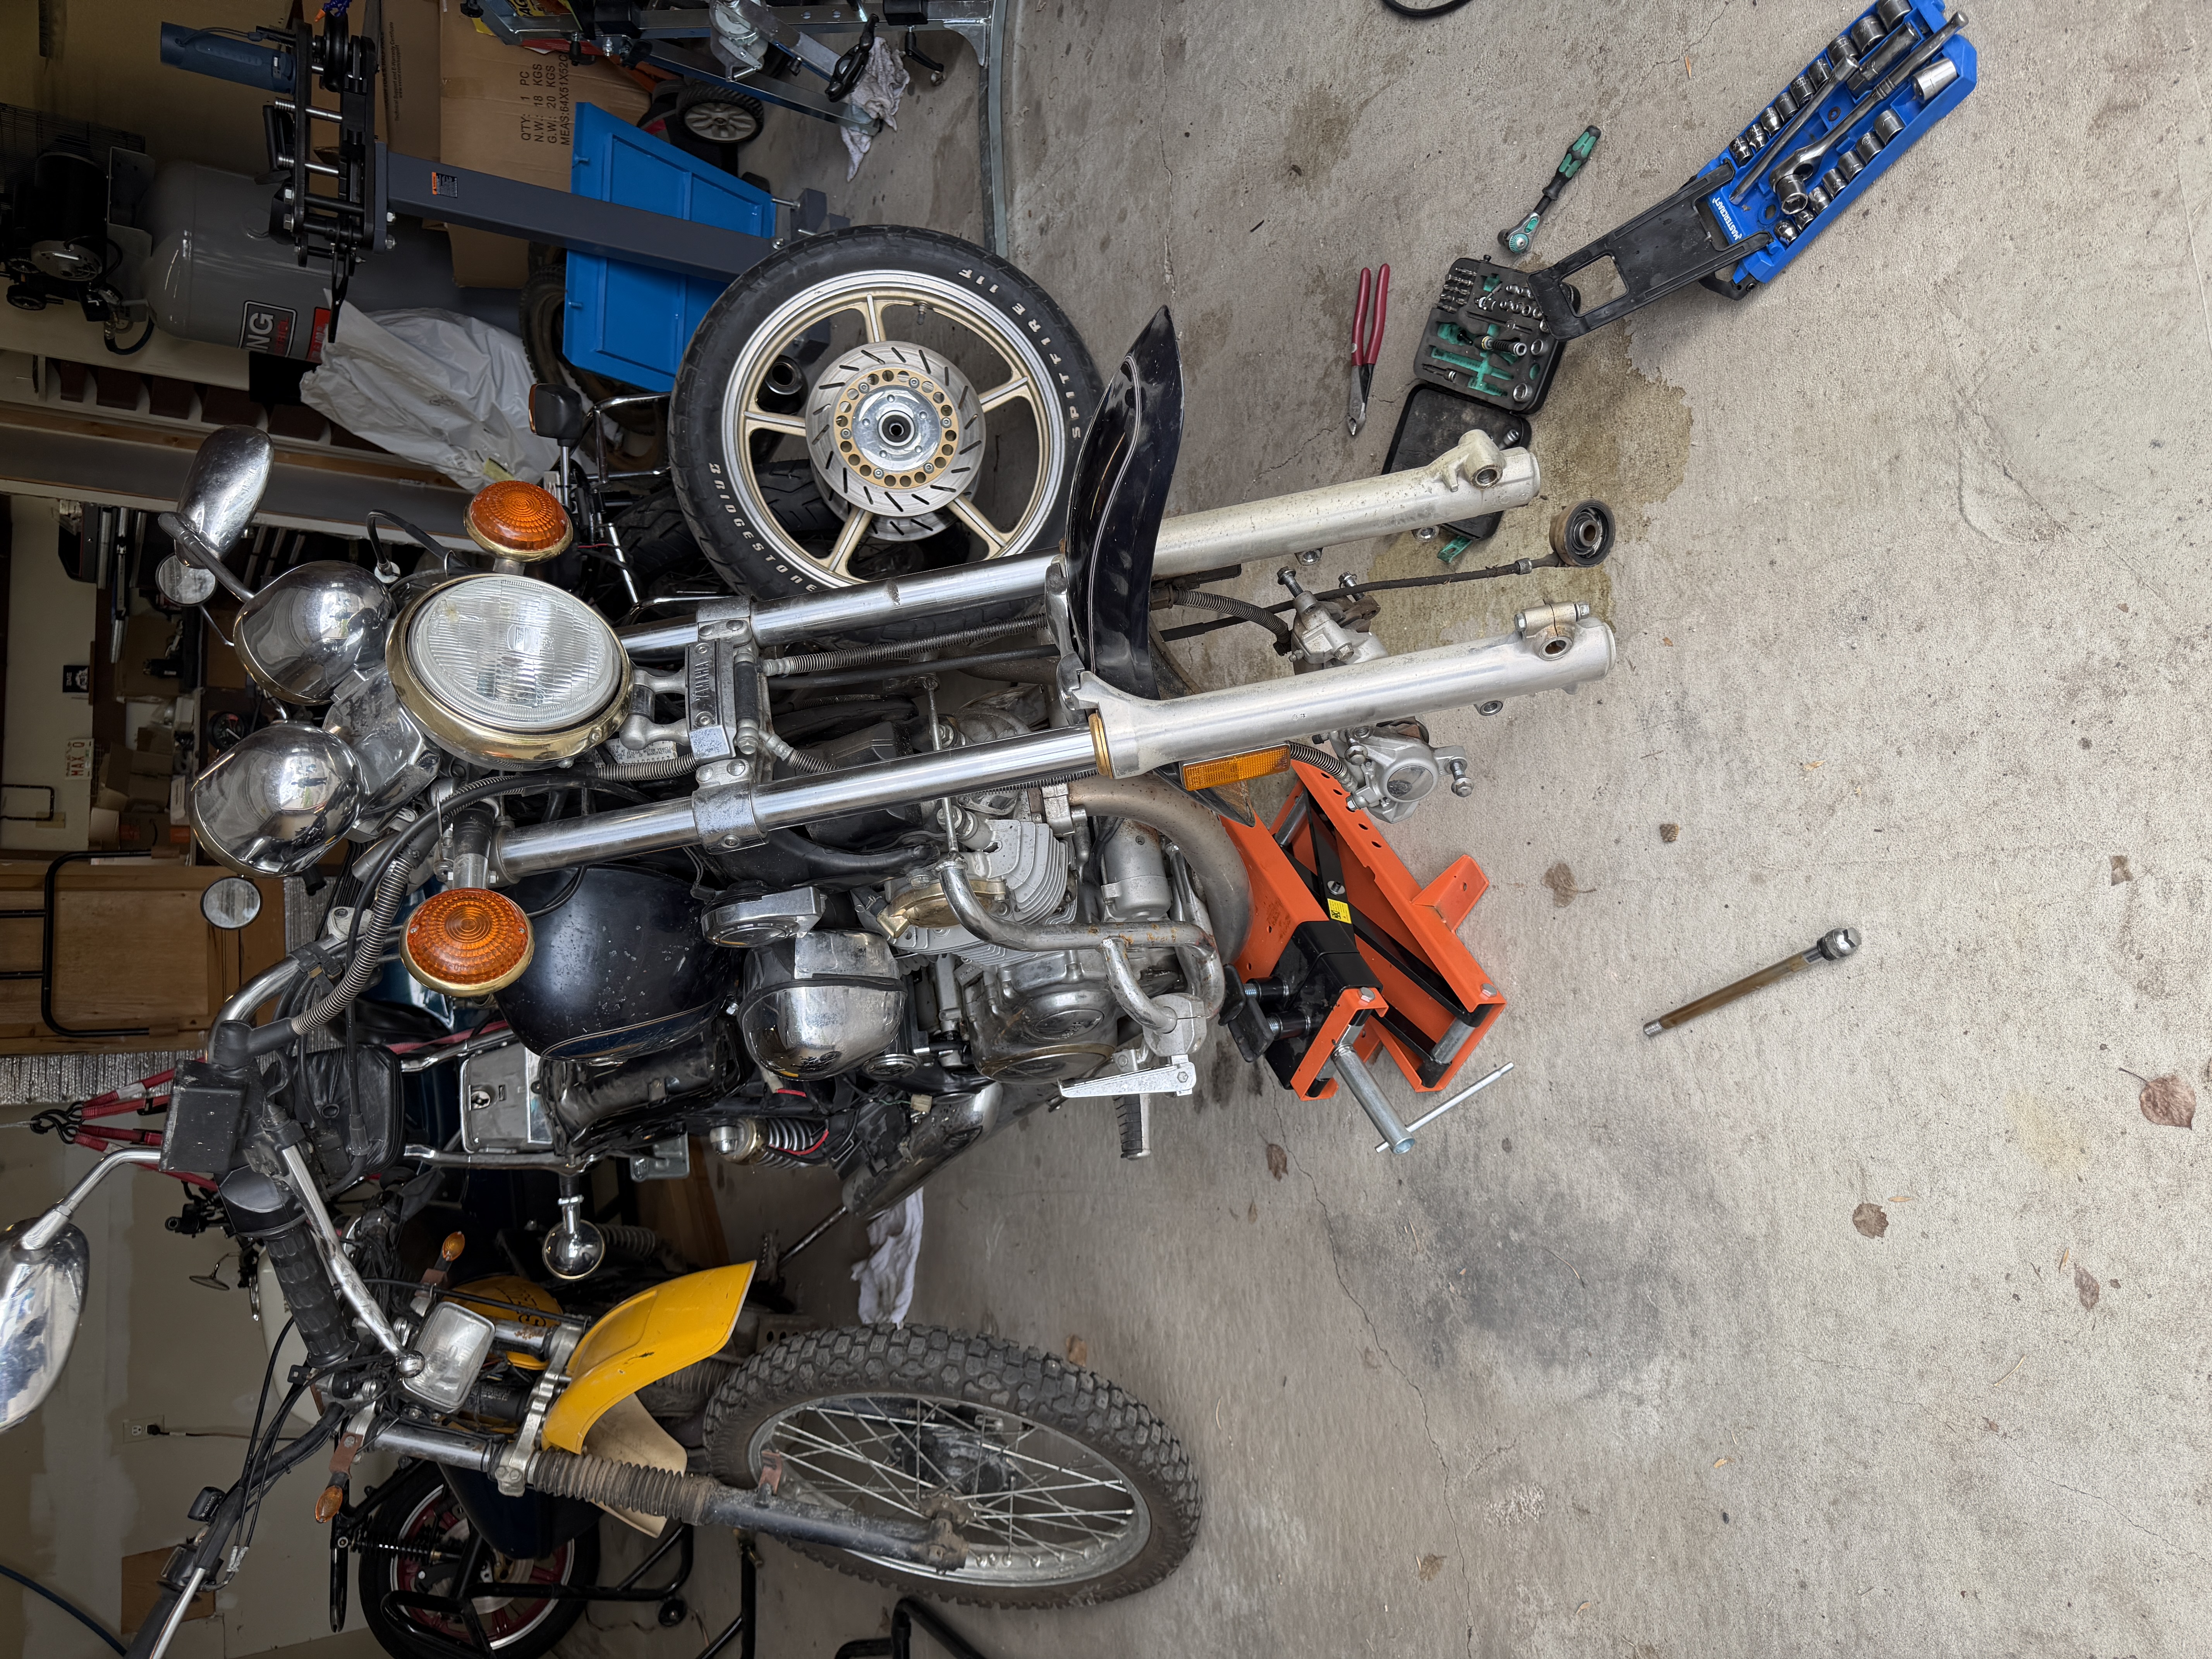
The plan is to start with a thorough assessment of the bike's mechanical condition before diving into the usual suspects: fuel system, carburetors, valves, suspension, and whatever other surprises may have accumulated during its long hibernation. New fork seals are already expected to be on the list, and there's a good chance the fuel system will need significant attention before the engine is ready to run reliably again.
With a little patience, some troubleshooting, and likely a few unexpected challenges along the way, the goal is to bring this classic V-twin cruiser back to a solid, dependable condition so it can get back on the road where it belongs. 🏍️🔧
ViragoHitachieV-Twin
History
Working on a Virago was the furthest thing on my mind as a possibility until now.
This 1987 Yamaha Virago 1100 belongs to Riley, who last rode the bike about 10 years ago… at least that’s what he says. (Oh it’s just got to be 20, I know it.) Since then the bike has been sitting, waiting for someone to bring it back to life.
Riley decided it was time to get it running again, so we’ll be digging into it together. The exact history of the bike before that isn’t really known, but maybe Riley will share a bit more about its past at some point.
For now, the plan is to go through the carburetors, replace the fork seals, and sort out whatever else shows up along the way. With any luck, it won’t take too much work to get this old Virago back on the road where it belongs.
Project details
## Riley's Virago XV1100 – Complete
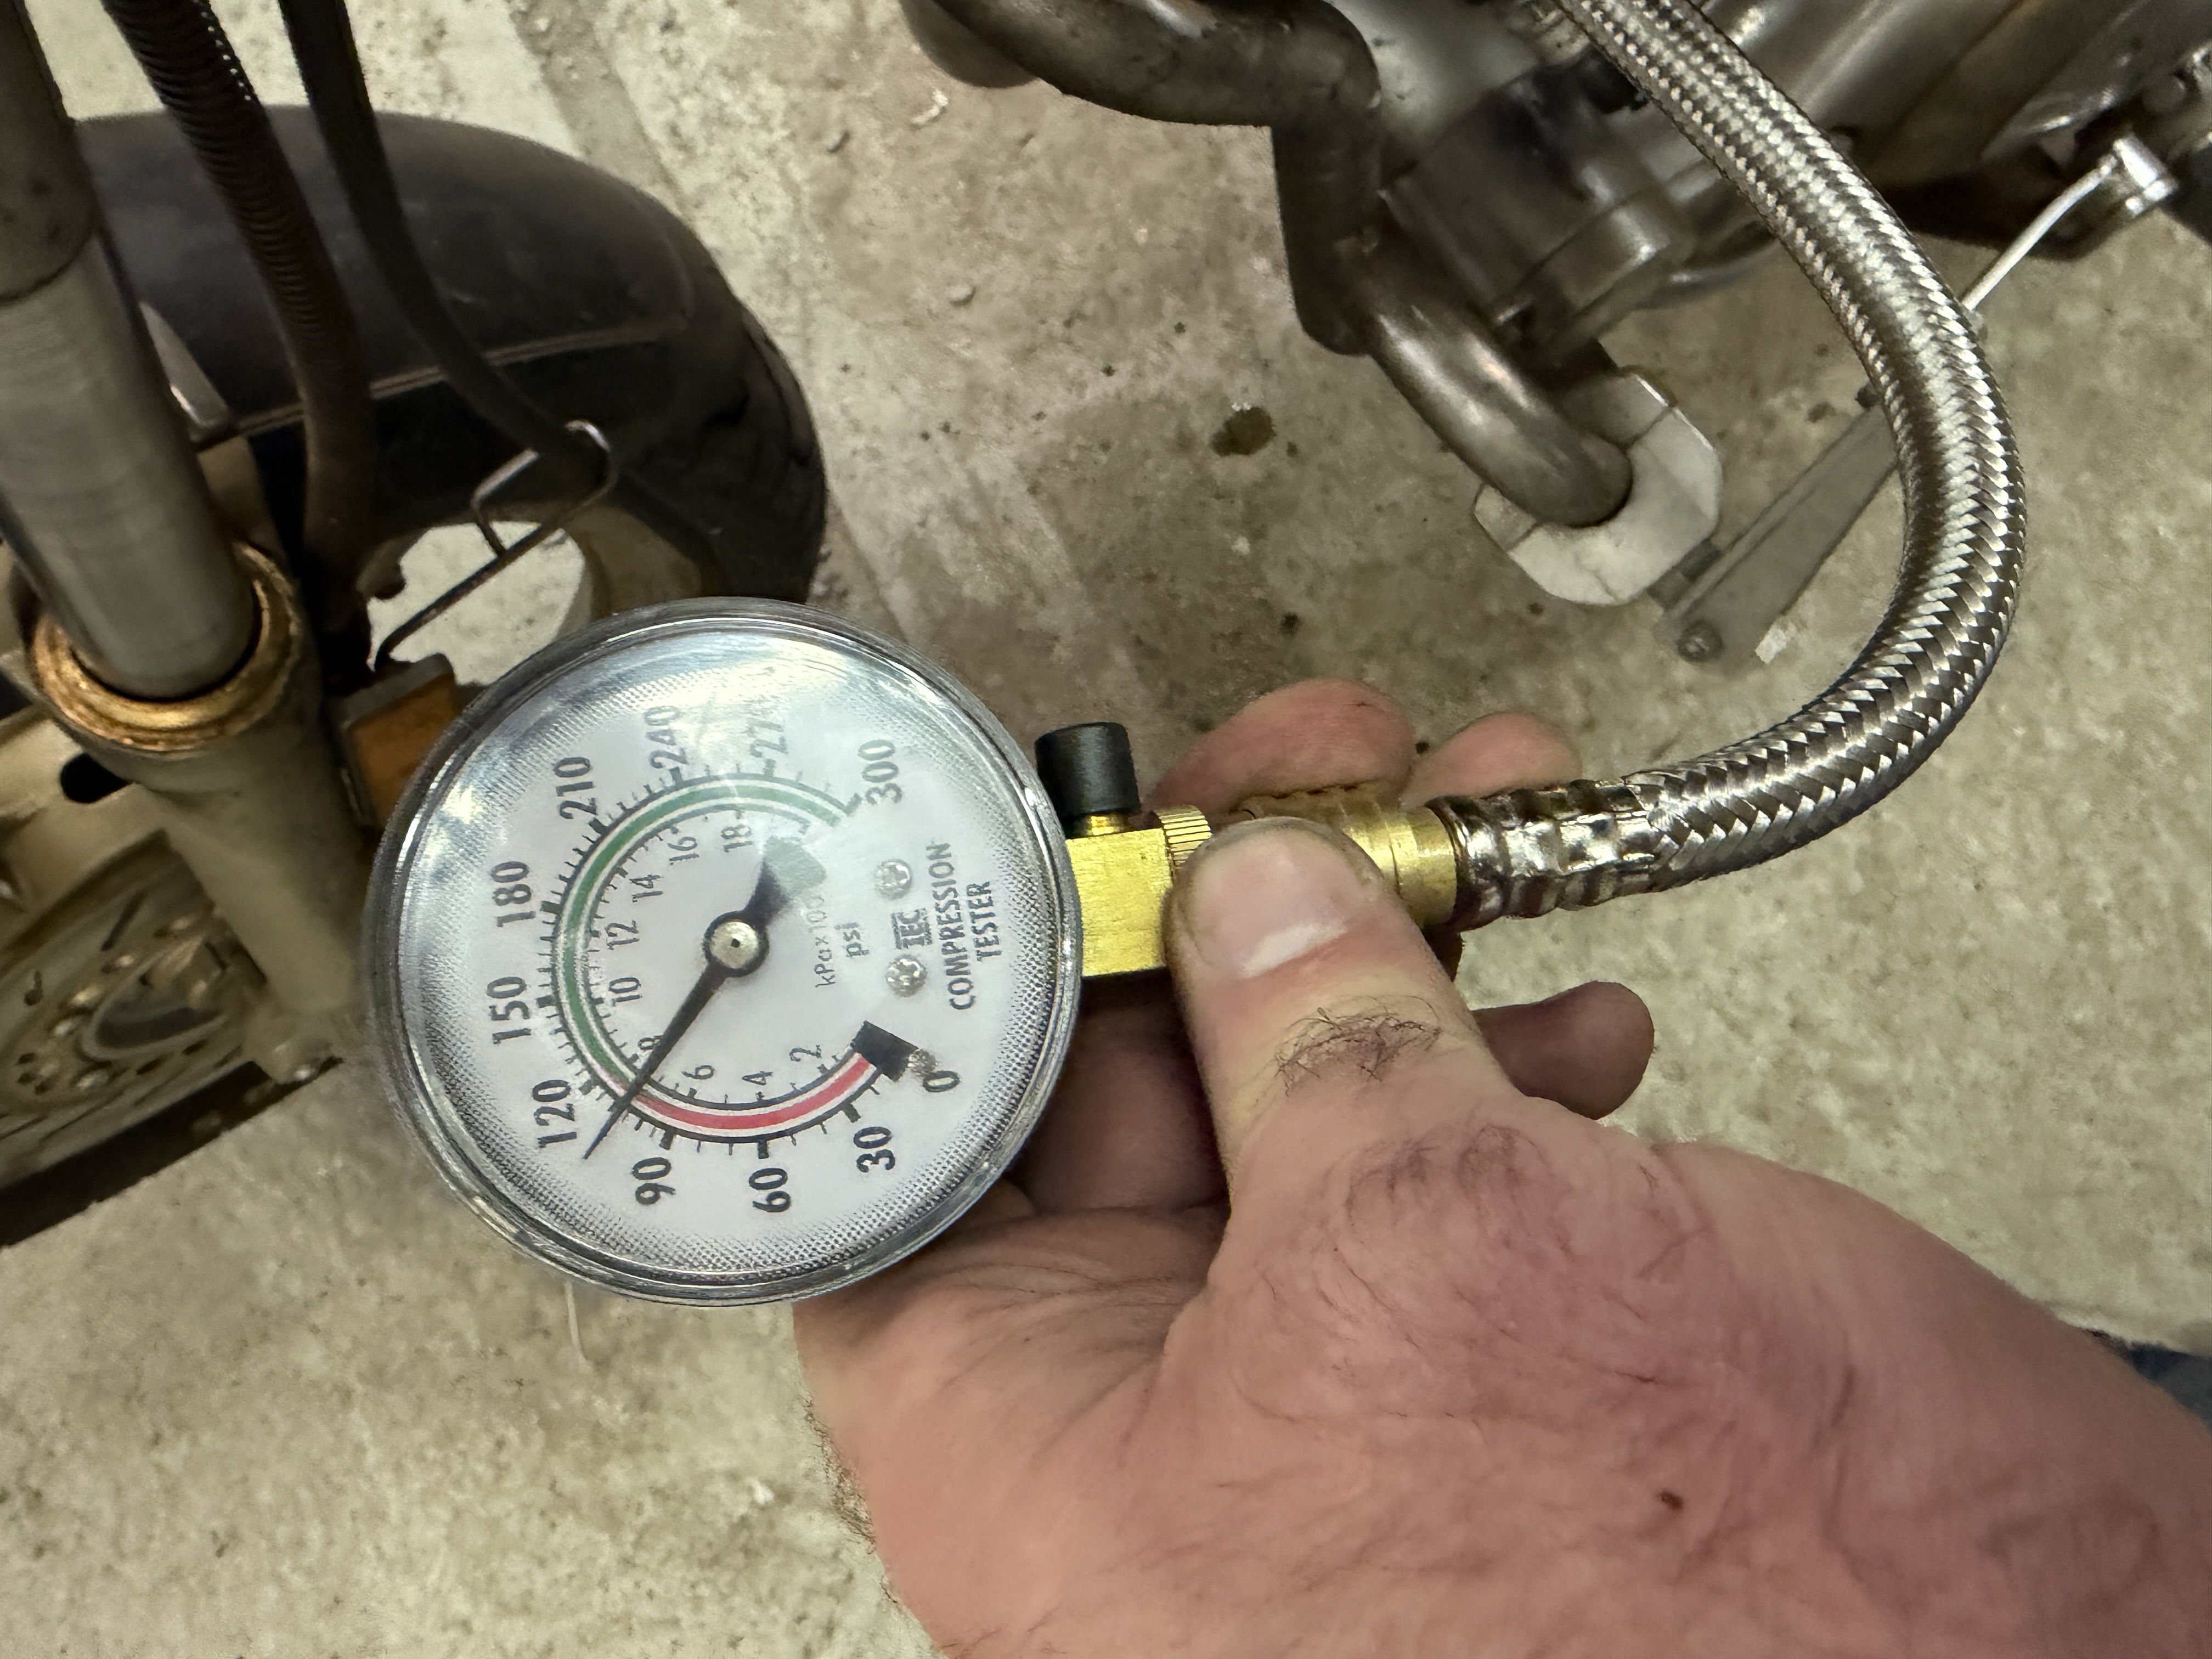
This project started with a non-running Yamaha Virago XV1100 that had been sitting for many years. We confirmed it had spark, and initial compression testing showed both cylinders were low, with the rear cylinder particularly weak.
"Well, it was hard to start before it was parked."
Apparently that's not entirely uncommon on these Viragos, as the rear cylinder tends to run hotter than the front.
The fuel tank turned out to be extremely rusty. It quickly became apparent that this was going to require more than simply installing a fuel filter.
Rather than spending hours shaking nuts, bolts, chains, or assorted hardware around inside the tank, I took the lazy—but surprisingly effective—approach. The tank was filled right to the brim with Evapo-Rust and then left to sit for several weeks while I worked through the rest of the bike. By the time it was drained, the vast majority of the rust had been removed and the tank was in considerably better shape than when the project started.
The low compression numbers weren't terribly concerning based on my recent experience working through similar issues on the BMW R100/7. Sure enough, after a valve adjustment the compression improved significantly.
Very quickly I learned that the ease of removing carburetors on a boxer twin is absolutely not the case on a Virago. These carbs proved to be somewhat of a nightmare—not the kind that wakes you up screaming, but the kind where you wake up in the morning feeling slightly disturbed.
As I learned more about the bike, I discovered that the 1986–1987 Viragos use Hitachi carburetors rather than the more common Mikunis. Parts availability is considerably worse, and the amount of varnish, corrosion, and debris inside the carbs, combined with the condition of the fuel tank, made me suspect the bike had likely been sitting much closer to twenty years than ten.
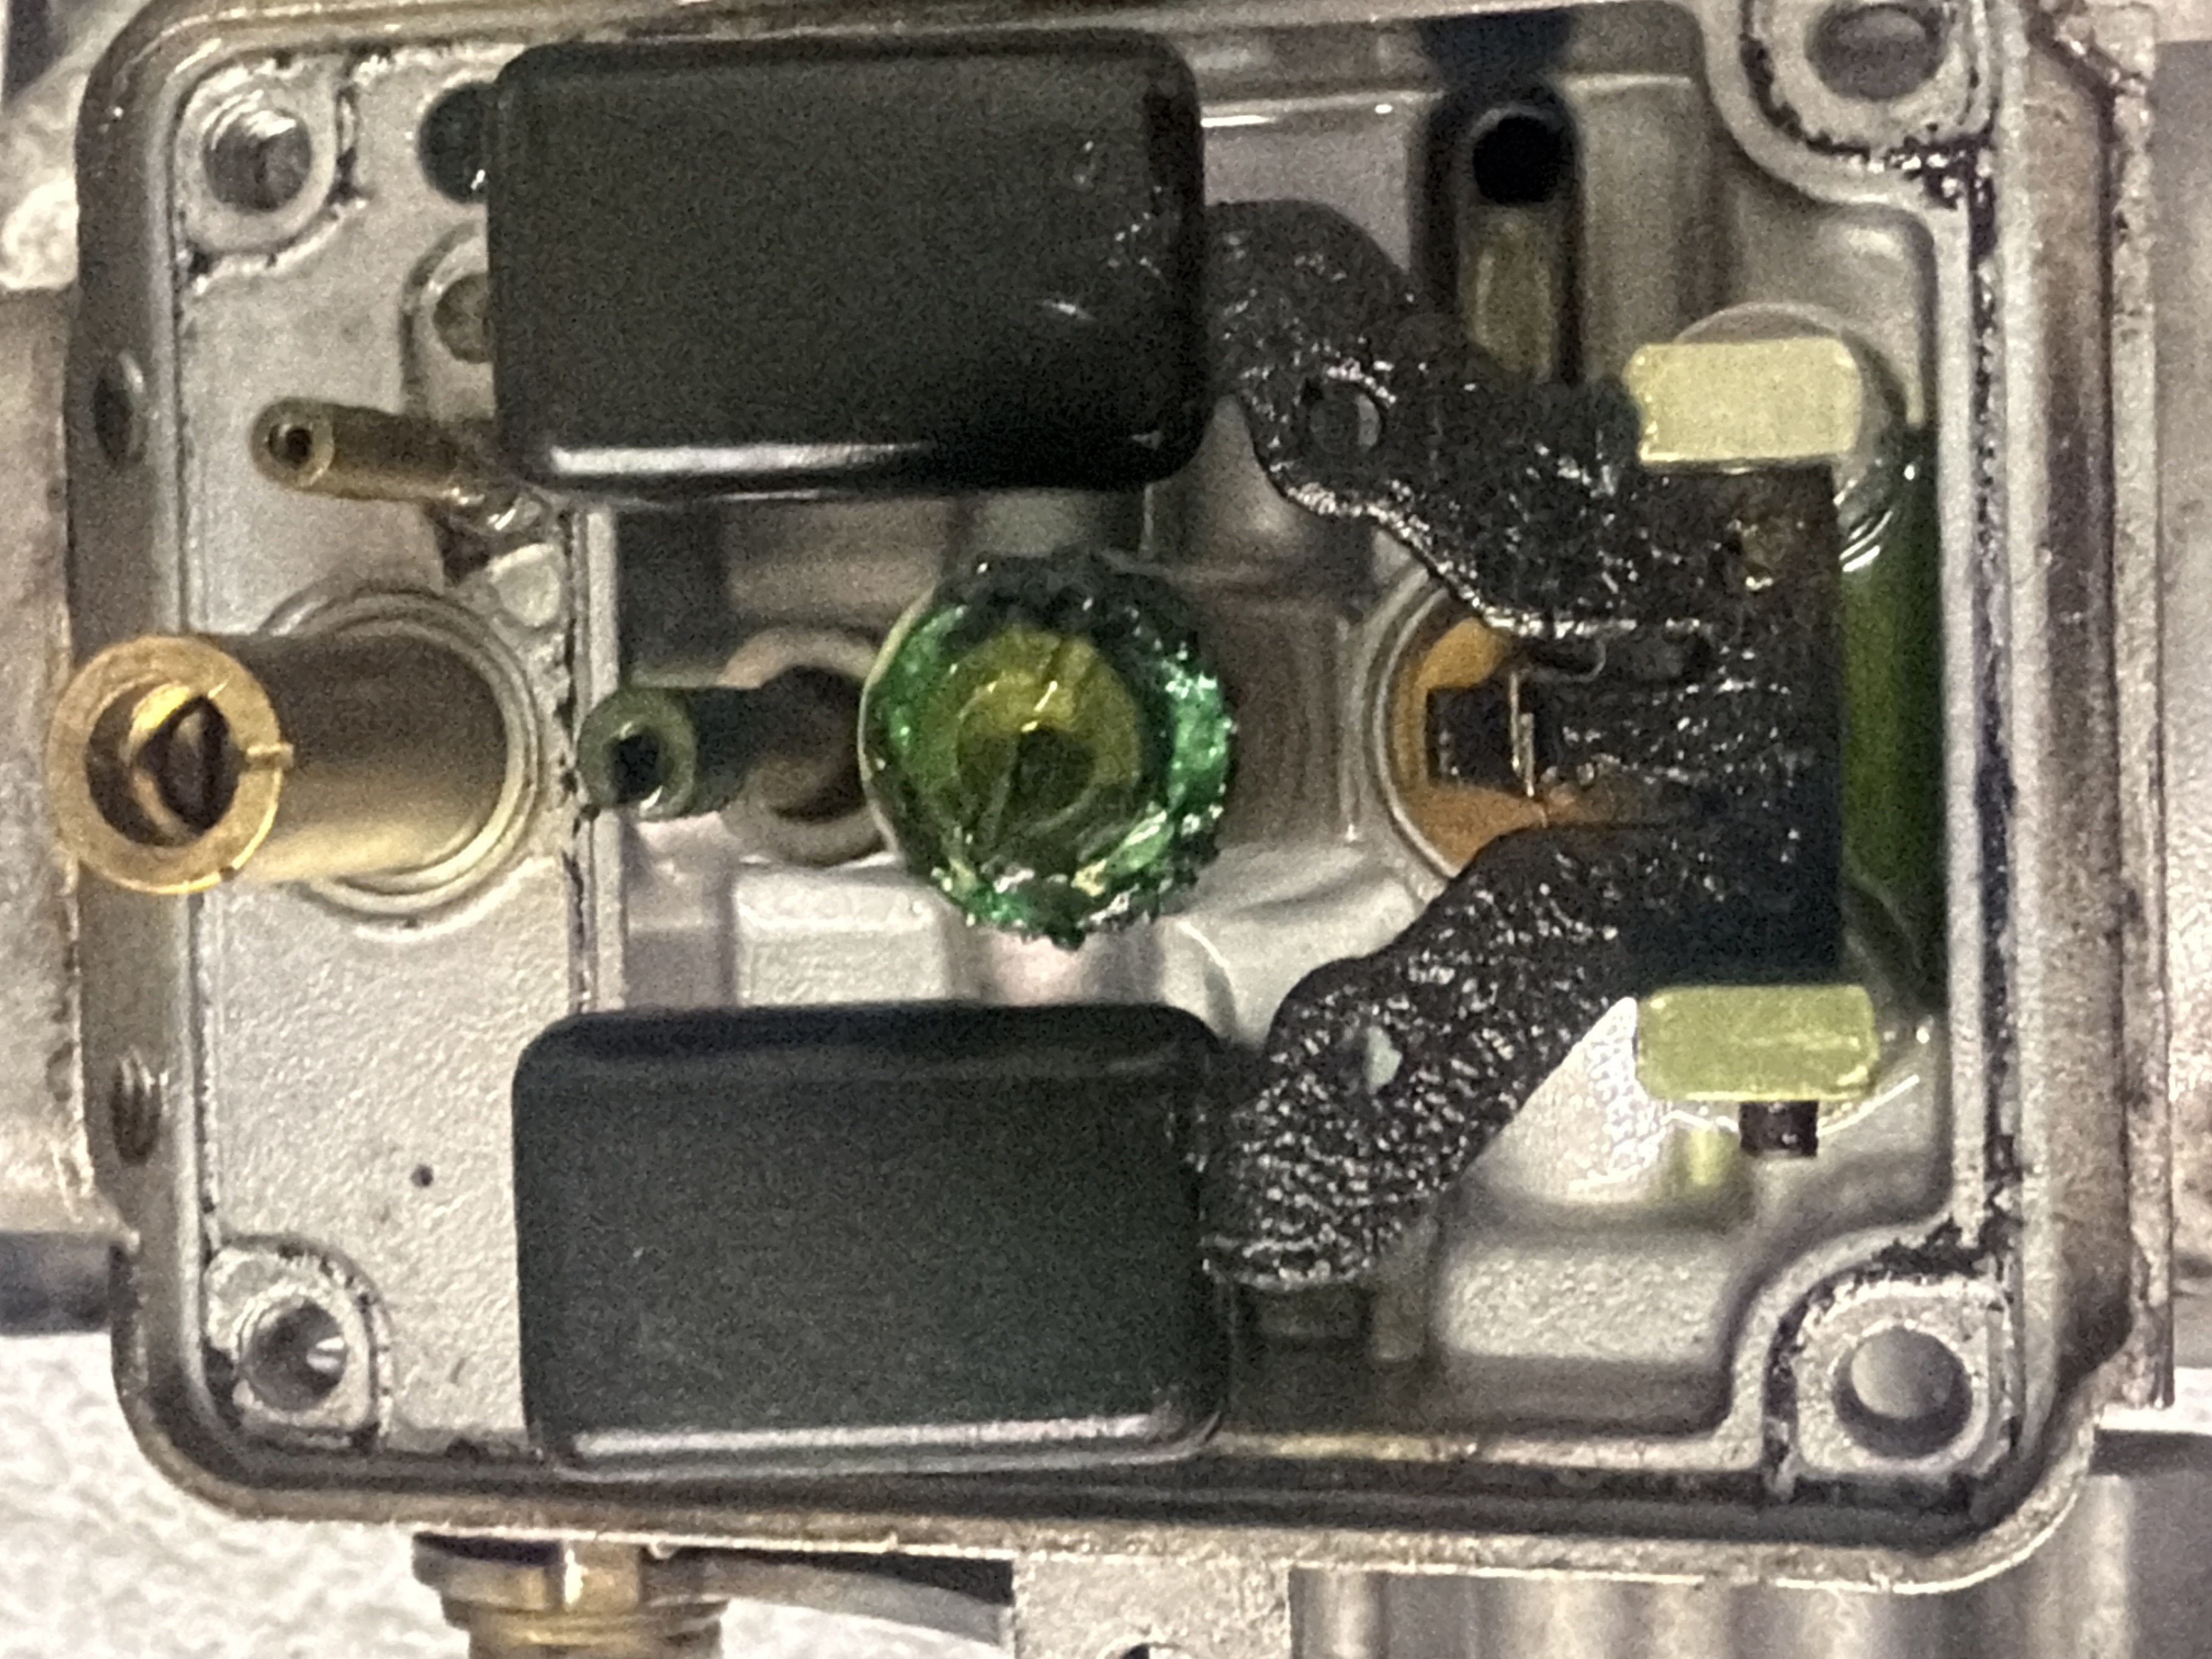
These carburetors also have a few quirks. Yamaha jetted the rear cylinder slightly richer than the front from the factory to help compensate for the additional heat it experiences. The front carburetor uses a #122 main jet while the rear uses a #128 main jet. The pilot jets are pressed into the carb body rather than being easily removable, making them more difficult to inspect and clean. More than once during troubleshooting I found myself questioning whether a passage was actually clean or simply looked clean.
Cheap rebuild kits for these carburetors are easy to find, but the consensus among experienced Virago owners is to avoid them. Sourcing quality parts took some time and ended up costing more than expected. The diaphragms were hard and beginning to crack, and the floats were no longer doing a particularly convincing job of floating.
Fortunately, JBM Industries manufactures replacement diaphragms for these carbs. Combined with a quality K&L rebuild kit and a set of OEM floats that were priced accordingly for their rarity, the carburetors were completely rebuilt after a thorough ultrasonic cleaning.
Or so I thought.
In hindsight, I placed a little too much faith in the ultrasonic cleaner. While it did an excellent job removing varnish and deposits, I allowed myself to assume that anything which looked clean must also be clean internally. That assumption ultimately led to the most frustrating part of the project, as I spent far too long chasing symptoms before finally discovering partially plugged jets that had survived both cleaning and multiple inspections.
At that point I took a bit of a hiatus from the project. The bike was fighting me every step of the way, and despite repeated cleaning and troubleshooting I still couldn't get it running properly.
Before giving up completely, I decided to take one last run at it.
Since I was running out of options and had largely convinced myself that dirt could no longer be the problem, I decided to pull the carburetors apart one final time to confirm that the front and rear jets were installed correctly. A side-by-side comparison quickly revealed my shame.
What I had been convinced couldn't possibly be the issue turned out to be exactly the issue: partially plugged jets. After correcting that problem and going through the carburetors one final time, everything finally came together.
The engine oil was also found to be heavily contaminated with gasoline from the repeated troubleshooting and starting attempts. Nearly four litres of very thin oil drained from an engine that should have contained closer to three litres. Once the fuel-contaminated oil was replaced with fresh oil and a new filter, the remaining smoke disappeared completely.
The result was immediate. The bike started easily, both cylinders came online, and after a proper road test it was clear the Virago was finally sorted out.
### Work Completed
* Carburetors disassembled, cleaned, and rebuilt
* Valve clearances adjusted
* Fuel tank de-rusted using Evapo-Rust
* New fuel lines and fuel filter installed
* Vacuum lines replaced
* New tires installed
* New fork seals installed
* Fork oil replaced
* Engine oil and filter replaced
* Final drive oil replaced
* Brake fluid replaced
After a final 30-minute test ride, the bike is running cleanly on both cylinders, pulls strongly under load, starts easily, and produces no smoke.
Sometimes the last 5% of a project takes 50% of the effort. This Virago was definitely one of those projects.
The bike is now complete, dialed in, and ready for Riley to ride and enjoy.